Tuesday, November 10, 2015

SOME CARD CREATIONS OF 2015

Happy Tuesday Everyone!
 
         It's been a LONG while since I've spent some time on my blog and thought I needed to sit down and write a Happy Hello to you all and to share some creations I've made.  I was going through my pictures that I had downloaded to my laptop and came across some cards that I have created in the last six months. I thought I would share some of them with you. I don't recall all of the manufactures of the product I used, but some are K&COmpany, a wood element from Michael's, stars from Tim Holtz, Martha Stewart punches and watercolor paper from Strathmore.


             This was a Mother's Day card I created for my Mom. I used K&COmpany 3D stickers and an old chipboard frame that I covered with Ranger/Tim Holtz Distress Paint in Picket Fence. I printed out the word 'Mom' on my computer and adhered it behind the chipboard frame. I also added mini pale yellow flat-backed pearls.


                I like the composition of the Mother's Day card so much that I created a Wedding card for my niece and her hubby. I used a wood grain paper from The Paper House and applied the K&COmpany 3D stickers to the background. I inked the edges of the wood cut-out frame and backed it with the words 'Mr. & Mrs.' that I, again, printed out from the computer. I then popped the frame up with foam squares and adhered it to the card.


                  This card is a Military Themed 'Congrats' card. I used a lot of what was in my stash which included...you guessed it...K&COmpany 3D stickers! I don't know about you all, but K&COmpany (in my opinion) has some of the prettiest stickers!


                         Now this card was super easy to put together thanks to this adorable 'Mustache' sticker that was a 4x6 size! I got it at Michael's in their clearance section and I'm sorry, but don't remember who the manufacture was : (
I attached the sticker to some red cardstock and had these light weight kraft paper numbers I found at JoAnn's for $1.00 a pack. I added 'platinum' stickles to the numbers and attached them to the card front along with some punched-out cardstock stars.


                   This is a Valentine card I made for my hubby this past Valentine's Day. Again, I used some papers from my stash and had a paper pack that included some papers with pre-printed sayings in 2x3 and 3x4 sizes. This one says 'life is good with you around' and I thought it was perfect for the background of my shaker. I added iridescent and red heart sequins in the shaker circle.


                     My other niece got married this month and I went for a soft vintage feel with this card. I used a white card base and layer. The doily stamps I used came from a pack of four by Little Yellow Bicycle. I stamped them with Versa Mark ink and embossed with white embossing powder. I sponged Tumbled Glass Distress ink over them and attached a lace border punched edge to the top and bottom of my sentiment (Happy Wedding Day) that I printed out from my computer. The butterflies are adorned with small white flat-back pearl stickers and the butterfly punches are from Martha Stewart.


                         The last card I'm showing you, for this blog entry, is one I made for my sister's birthday. Her favorite time of the year is Fall and it just so happens her birthday is in October. So I decided to do a watercolor panel for her card front. I painted this wheelbarrow full of pumpkins on Strathmore heavy weight paper and then trimmed it down to fit onto my card base. It's pretty amateurish, but I think she will like it.

                        Well, that's all I have to share for now my friends. I hope you all enjoy these beautiful Fall days. With the holidays fast approaching, I may not be on the blog much, so let me take this time to wish you all a wonderful and thankful Thanksgiving and a happy Holiday season! May you be surrounded by loved ones and happy moments and remember..."Enjoy the little things in life because one day you'll look back and realize they were the big things."  ~Kurt Vonnegut

Take care,
~Karen

Wednesday, December 3, 2014

HAPPY HOLIDAYS ALL!

Let the festivities begin...there's a chill in the air, the leaves have all gone, and Christmas carols are being played on the radio. Starbucks has had their 'red' cups out for a while now, which we all know marks the kick-off of the holidays. Hope your Thanksgiving was a memorable one and I hope all of you here in Colorado took advantage of the beautiful warm weekend, after Thanksgiving, to get your decorations and lights up outside of your homes.

Onto the subject at hand.

I was on YouTube (of course) and came across a video by Laura Bassen. She is with Simon Says Stamp and she was sharing a Christmas card, Rainbow Christmas Trees, she made using a stencil and different Distress Inks by Ranger. The vivid colors and the slight overlapping of the trees was so pretty and cheerful. So I thought I would CAS her card for my Christmas cards this year.

Here is a link to her video on YouTube:

https://www.youtube.com/watch?v=-1wd-1oiUZs


...and here are two pics of my Christmas card created from CASing Laura's card.


with matching envelope

Supplies used:
white and hot pink cardstock
distress inks in mustard seed, spiced marmalade, barn door,
picked raspberry, peacock feathers, stormy sky, crushed olive,
mowed lawn, seedless preserves and salty ocean
gold embossing powder
versa mark ink
pop-dots
ATG glue gun
envelope punch board

Hope you enjoyed Laura's video and my take on her card. Have a wonderful & safe holiday and thanks for stopping by!

~Karen


Friday, June 27, 2014

Watercolor Pencils Journal Page

TGIF!
     
      Happy Friday all and glad you could stop by. It's warming up, with Summer officially here, and taking some time to create indoors where it's cool...thank goodness for ac! I came across a quote, where else but Pinterest LOL, and wanted to brush the dust off of my watercolor pencils and play. I had drawn out some flowers in my journal a couple of months back and thought the quote I found would be a great addition to the page. So I outlined them using my black LePen Permanent pen and then away I went, coloring in the flowers and their leaves with a couple of shades of watercolor pencils. I then went in with my paint brush and some water to meld the colors together. I really love the watercolor pencils since I am able to control the color so much better...although using watercolor cakes make playing such a surprise with the way they float and move to their own liking. I then added some watercolor through a stencil (DCWCV 5 x 7) and wrote the quote with the black LePen pen, again, and then added a highlighted side to the letters of the quote with my white uni-ball Signo pen.


The quote...'give everyday the chance to become the most beautiful of your life' by Mark Twain is a reminder to me to look at everything and everyone with a positive light. There is way too much negativity in this world and so many positives that sometimes get overlooked...so I wanted to use bright happy colors to paint the flowers.

I had a lot of relaxation doing this journal entry and I'm hoping to play some more with my watercolor pencils and watercolor paints.


Have a beautiful weekend and take some time to do some creative play!

~Karen

Monday, April 14, 2014

Art Journal Page

Happy Monday All!

Well, we've received some Spring snowfall. It started yesterday afternoon and stopped snowing sometime in the wee hours of this morning. I know that the moisture is greatly needed here for the upcoming spring/summer time, but I'm truly over winter. Thank goodness the sun is shining today and I can see the snow melting. The sound of the birds' songs, along with the sunshine, brings me back that it really is Spring! 

Anywhoo...I wanted to share another art journal page. I had started this drawing back in 2013 and have come back to finish it. I do enjoy my coffee in the mornings and so this drawing reflects the warmth and comfort that first cup of java gives me. The swirls of coffee names around the drawing's head rises up from the steam of the hot coffee. Again, I colored this with Prisma color pencils and blended with gamsol. The 'steam' was created with chalk pencils and smeared with a tiny cotton ball.


I hope Spring is in full bloom where you are and I encourage you to do a little 'creative play' today.

Thanks for stopping by!

~Karen


Friday, March 28, 2014

Art Journal Entry

Hello All!

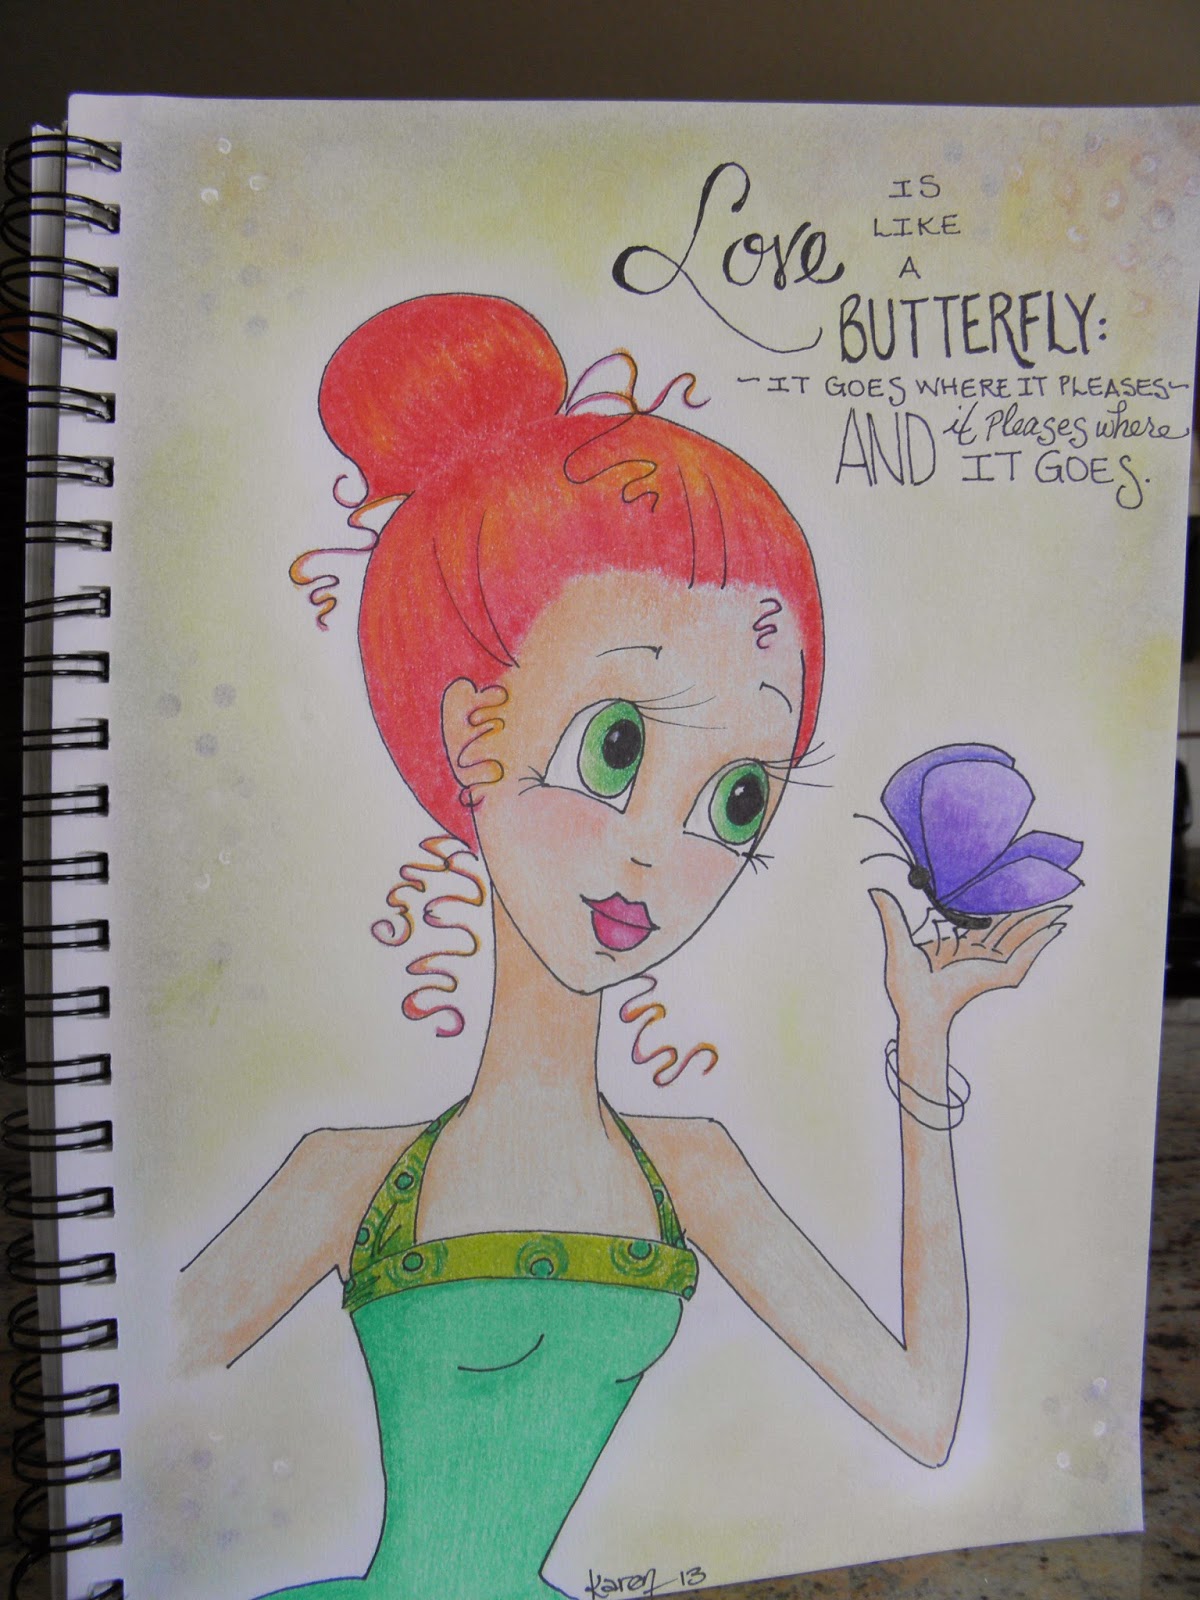
I'm sharing another entry in my art journal. This is a drawing I did sometime in 2013 and I finally got around to coloring it and added a poem from an unknown author. The drawing was done on  mixed media paper and was colored with Prisma color pencils and blended with gamsol. I used my chalks and colored the background. 

Here it is.....


Love is like a Butterfly: it goes where it pleases and it pleases where it goes.

Hope you enjoyed and thanks for stopping by! Have a beautiful day and create something today!

~Karen

Tuesday, March 25, 2014

Art Journal Page

Hello All!

I sure hope your are getting some Spring weather! Winter has really been trying to keep a hold on our weather here. We've had crazy roller coaster- like days...warm and sunny one day and then cold winds, gray skies and snowfall. I have to say that Winter sure is giving Spring a fight, LOL.

So I've had some time to finally work in my art journal. The problem with me is that I love to work with all kinds of mediums, hence, sometimes not getting too far in the creative process. The one thing I have done since I was a little girl is draw. I use to draw paper dolls and 'mermaid' paper dolls for my sister and our friends, just drawing on any kind of paper. We would color them, cut them out and just PLAY! So I am finally getting back to my drawing and I'm enjoying it.


.I've started out by drawing the lady's face and then watercoloring her. I then watercolored my background and added drops of alcohol to represent spots of 'sparkle'.  I cut the lady's head out and adhered her to the background. I added stickles, glossy accents and sequins to the background and added the title 'find your SPARKLE'. 

This entry has really sparked the itch to do some more drawings...I definitely will be squeezing in some time to do just that!

Thanks for stopping by and create something today!

~Karen

Monday, March 17, 2014

Card Share

Good Morning All!

Three more days until the first day of Spring...I am so looking forward to it! We have been up and down, where I live, with snow and then warm sunshine. My tulips are poking through the ground and I've noticed some tiny green leaves emerging from the mums. Blue skies, warm days and a slight coolness to the breeze will be so welcomed! : )

Onto my latest card I made. It's a birthday card for my brother. I have such a hard time thinking of 'masculine' card recipes, since I love all of the beautiful flowers, gems and laces out there to adorn our cards and scrap pages. I do think it came out ok, and he let me know he liked it . 

Here is the card...


I did have fun making this card and it came together pretty quickly. The only thing I had forgotten was my brother was turning 40!!! Oh well...I guess I should have had a V8...LOL...when I phoned him on his birthday I explained my forgetfulness and he reassured me it was alright (his next birthday I'm really going to have to make his card really special).

So there you have it folks! I hope Spring has sprung where you all are and go ahead and create something today!

Enjoy the day~

~Karen

Monday, March 10, 2014

Altered Clipboard Swap 2014...take 2

Good Day to All!

I'm enjoying another Spring-like day today and hope you, too, are having a wonderful day! I thought I would take a moment and write before I get on with my day of errands and chores.

As promised, I wanted to share the clipboard I received from the Altered Clipboard Swap I participated in with the scrapbook group I belong to. My partner was Jodie, the Douglas County Scrapbook Group's organizer and one of my friends. Let me just say...GORGEOUS! Jodie asked me what style or theme I would like my clipboard to be and I said I really like shabby chic, I also like color, but not dark colors and to just surprise me. Wow...did she surprise me! 

Take a look...


Isn't this sooo pretty? She covered the clipboard with a beautiful pink paper that has a white flocked motif. Two rows of bling line the top and a dainty paper lace border lies below it. A dramatic blinged out clip is so gorgeous and I still can use the clip to hold a photo or small calendar. The bottom is adorned with bits of a crochet doily, paper roses, pearls, sprays of flowers, rhinestones and beads. A butterfly, rhinestone crown and birdbath with birds are tucked among the roses with a sparkly feather-like accent and a soft white feather, too.


Can we all say OMG?!?? Every bit of this clip is blinged out with pearls and rhinestones! So much yumminess clustered together. : )


Here is a close-up of the bottom of the clipboard. Beautiful paper roses she touched with gesso and sprinkled with glitter. Notice the pretty floral sprays that climb up the sides of the board along with the touches of pearls, special accents and doilies? I can tell so much love was put into this project and I'm so honored to be the recipient of this masterpiece!

Thank you Jodie for my clipboard!  : )

 To see more detail on this clipboard, and other great videos, you can go to Jodie's YouTube channel....
MissPurplePotato

Enjoy your day and thanks for stopping by!

~Karen


Sunday, March 9, 2014

Altered Clipboard Swap 2014

Hello All!

I welcomed the sunshine and Spring-like warmth today and I'm relishing it while we have it. It is a happy pause in between the days of snowfall, which will be heading our way, again, in a day or two...sigh...

I attended the monthly get-together at the scrapbook club that I'm a member of (the Douglas County Scrapbook Group led by our wonderful and talented organizer Jodie) two evenings ago. She hosted another fun swap that challenged me creatively, which is always good, for I need to expand on new techniques and sometimes be pushed outside my comfort zone.

So this swap was an 'Altered Clipboard Swap' and we were paired with a partner, according to the order in which we signed up to participate. The rules were pretty much carte blanche...use a clipboard of any size and ask your partner what theme/style she would like to have on her clipboard. Oh what fun this was! My partner, which happened to be Jodie, wanted a wedding theme so she could display a wedding photo of her son and daughter-in-law 'to be' from their upcoming wedding this June. Let me tell you, the ideas and thoughts that started swirling around in my brain had me sketching out some 'recipes' for the clipboard. I finally came up with a plan and gathered my supplies. Intimidated at first, I began to trim, paint, glue and bead...yes, I said bead.

So let me show you some photos of my finished project!


This photo doesn't do it justice, but it is done in whites, creams, a touch of pale lt. blues & pale lt. pinks. The frame will be able to hold a 4 x 6 photo. I asked my mother to please crochet two 3" doilies for this project and she graciously did. : )  My grandmother worked most of her adult life making wedding gowns and I acquired some of the bridal trims she had used in her works. So I had to add some of the trims, of course, to this wedding themed clipboard. I came across a wonderful and super fun technique on Pinterest for what I call 'faux' porcelain roses. I will put the link for the tutorial from this very creative lady's blog at the end of this blog entry. I will also include some of the supplies I used to make this project.


This is a close-up of the flower cluster that includes some of the 'faux' porcelain flowers & leaves. A handmade stick pin, Prima clock face, some rhinestone sprays, small glittered dove and handmade seam binding finish off this cluster.


A close-up of the beaded chain I made and then I added a white chain, clip and some charms from my stash along with some Art-I-Cake charms I took apart and revamped.


A look at the back of the clipboard. I punched some borders out of paper and added a lace panel, another addition from my mother, and made a pocket from some paper doilies I actually received in a goodie box from Jodie. I thought it would be sweet to type up a short wedding poem which I found on the internet. I cut it into a tag and tied some tulle through the punched hole at the top. On the back of the tag I wrote what items my mother and grandmother contributed to this project for Jodie.

The group has already swapped the clipboards and let me say that not only did I LOVE the clipboard I received, but was amazed at all of the talent and ideas the other ladies came up with. I will post the clipboard I received on my next post.

Happy crafting to you all and thanks for stopping by!

~Karen

Flower tutorial: One More Time Events by Tammy @

Supplies:  clipboard from Wal-mart
                    papers: Basic Grey's Little Black Dress 'Best Dressed'
                                Teresa Collins Family Stores 'Noted'
                    paints (white, bubble gum pink, pool blue & banana yellow): Apple Barrel
                    metal photo corners: Momenta
                    charms: misc. and parts of Art-I-Cake (Charm Me 'I Do' charm added later)
                    silk flowers
                    plaster of paris: DAP
                    handmade seam binding made from white batiste fabric
                    dove
                    white chain
                    silver findings
                    6mm glass pearls
                    balsa wood frame from Michael's
                    crackle medium: Weathered Wood by Americana
                    large white flower with pearl center: Recollections
                    handmade stick pin
                    rhinestone sprays from Hobby Lobby
                    white crochet doilies: my Mother
                    assorted laces & trims: my Grandmother, Hobby Lobby & misc.
                    charm frame from Michael's
                    clock face: Prima
                    flat-back pearls: K&COmpany


Tuesday, February 4, 2014

Card Share

Hello all!

It's been a while since I've shared anything with you. Hope your holidays of 2013 were wonderful and blessed and now onto 2014!

I have a friend who recently had knee surgery and I wanted to send her a card to hopefully brighten her day while she was recuperating.  I thought...how about sending her some SUNSHINE (get it, brighten her day...sunshine...LOL)! Anywhoo, I had some dry embossed pieces of paper I had made from different embossing folders and went through my stash. I came across a 'cloud' embossed piece (not sure the name of the embossing folder, maybe from Stampin' Up?) and thought how cute it would be for a background for a sun. 
I did some watercolor for the sky part and then cut out a large circle from yellow cardstock for the sun. I then cut out some rays for the sun, from the same cardstock, and cut out cheeks from pink cardstock and a nose from a light orange cardstock. I glued on the cheeks and nose to the sun and drew on the sun's face, then highlighted the cheeks and nose with a white gel pen. I cut out three circles from three different shades of green cardstock and layered them on top of each other to create fields of grass. I punched out some flowers and leaves to add to the grass areas and added stickles to the centers of the flowers. I then printed out the sentiment and cut it into a banner shape for the front of the card. 

I think it turned out pretty cute and hope it will bring a smile to my friend's face!


Happy Crafting All!

~Karen~


Sunday, November 17, 2013

Hello All!

Today I want to share with you a birthday card I made for our Daughter's 21st birthday. I can't believe our youngest child is 21...but you know that doesn't mean I'm getting older, LOL, I wish!
Anywhoo...I had so much fun creating this card. I recently purchased the We R Memory Keepers Lucky 8 Punch 'Frilly Lace' and was playing around with it. I took a scrap 12 x 12 sheet of cardstock and  punched out the frilly circle. I thought, how else can I use this circle besides using it for a circle background? I started folding it and I stumbled onto the off-set folded half circle. Yes! This would be so pretty tri-folded into a card and of course, I had to make one in PINK, since that is my daughter's favorite color. I will now share some photos of the result...


This is the front of the card. I tri-folded the punched off-set half circle and inked the edges with Vintage Photo Distress ink. I added a pink ribbon between the folded circle so that I would be able to keep the card closed. I then decorated the card with some punched pattern paper, feathers, a flower I added Diamond Stickles to, some punched leaves, '21' stickers, gems and a handmade stick pin.


This is the back of the card. Again, I punched some pattern paper and sprayed it randomly with some handmade spray paint in pink. I used a stencil and inked through it with Vintage Photo Distress ink and then randomly used some gesso and spread it through the same stencil. Before  adding  the Tim Holtz die to either side of the back of the card and wrapping this to the front sides, I added some white Picket Fence Distress paint to the die cuts and then lightly sponged some Vintage Photo ink on top. I then added some jewels (everything needs a little sparkle!).


This is the inside of the card. I printed out a sentiment onto some white cardstock and cut it to fit inside, adding some extra length to the bottom so I could fold up that section, sort of like a pocket,  that way we could write our wishes to our daughter and it could be hidden for only her to read (it's also a great way to add a gift card or money). I punched out some leaves and inked them, as well, with Vintage Photo Distress ink. I added a few more jewels to finish off the inside.

Well, there you have it and our daughter LOVED her card! 

Please give this technique a try and I bet you will come up with other ways to use the circles/squares made with the We R Memory Keepers Luck 8 Punches!

Have a blessed & wonderful week!

      ~Karen~

Thursday, June 27, 2013

Painted Tote

Painted Canvas Tote

Hello again...I wanted to share another project I made. I had this canvas tote, for years now, that the kids had used for school (they are now all in their 20's)! I use it to carry my coupons in when I hit the craft stores and thought...I need to be totin' my coupons in style...LOL! The tote had a few stains on it and two small rips in the side so I thought I would give it some new life.


This tote measures 12" high (not including the handles) x 13" wide. It is off white in color, so I painted the front with white acrylic paint with some Textile Medium mixed in. When I got to the edges I just feathered out the edges. Once the paint had dried I lightly drew my design on with a pencil. I added Textile Medium to all of my acrylic paint colors and then started filling in the design.


When I was finished painting the design I outlined everything with a black permanent fine tip pen. I let it dry over night and then turned the bag inside out so I could heat set the painted design from the 'inside' with a dry iron and a pressing cloth covering the painted design, pressing each section for about 20 seconds. You must wait 7 days for the curing to be complete before washing the item (these were the instructions for the Textile Medium I used...always check the manufactures instructions on the particular medium you may use).


This is the backside of the Painted Tote.


A close-up.
*My coupons now have a fun place to call home!*


Thanks for stopping by and enjoy your day!

~Karen

Tuesday, June 25, 2013

Card Share

Hello All!

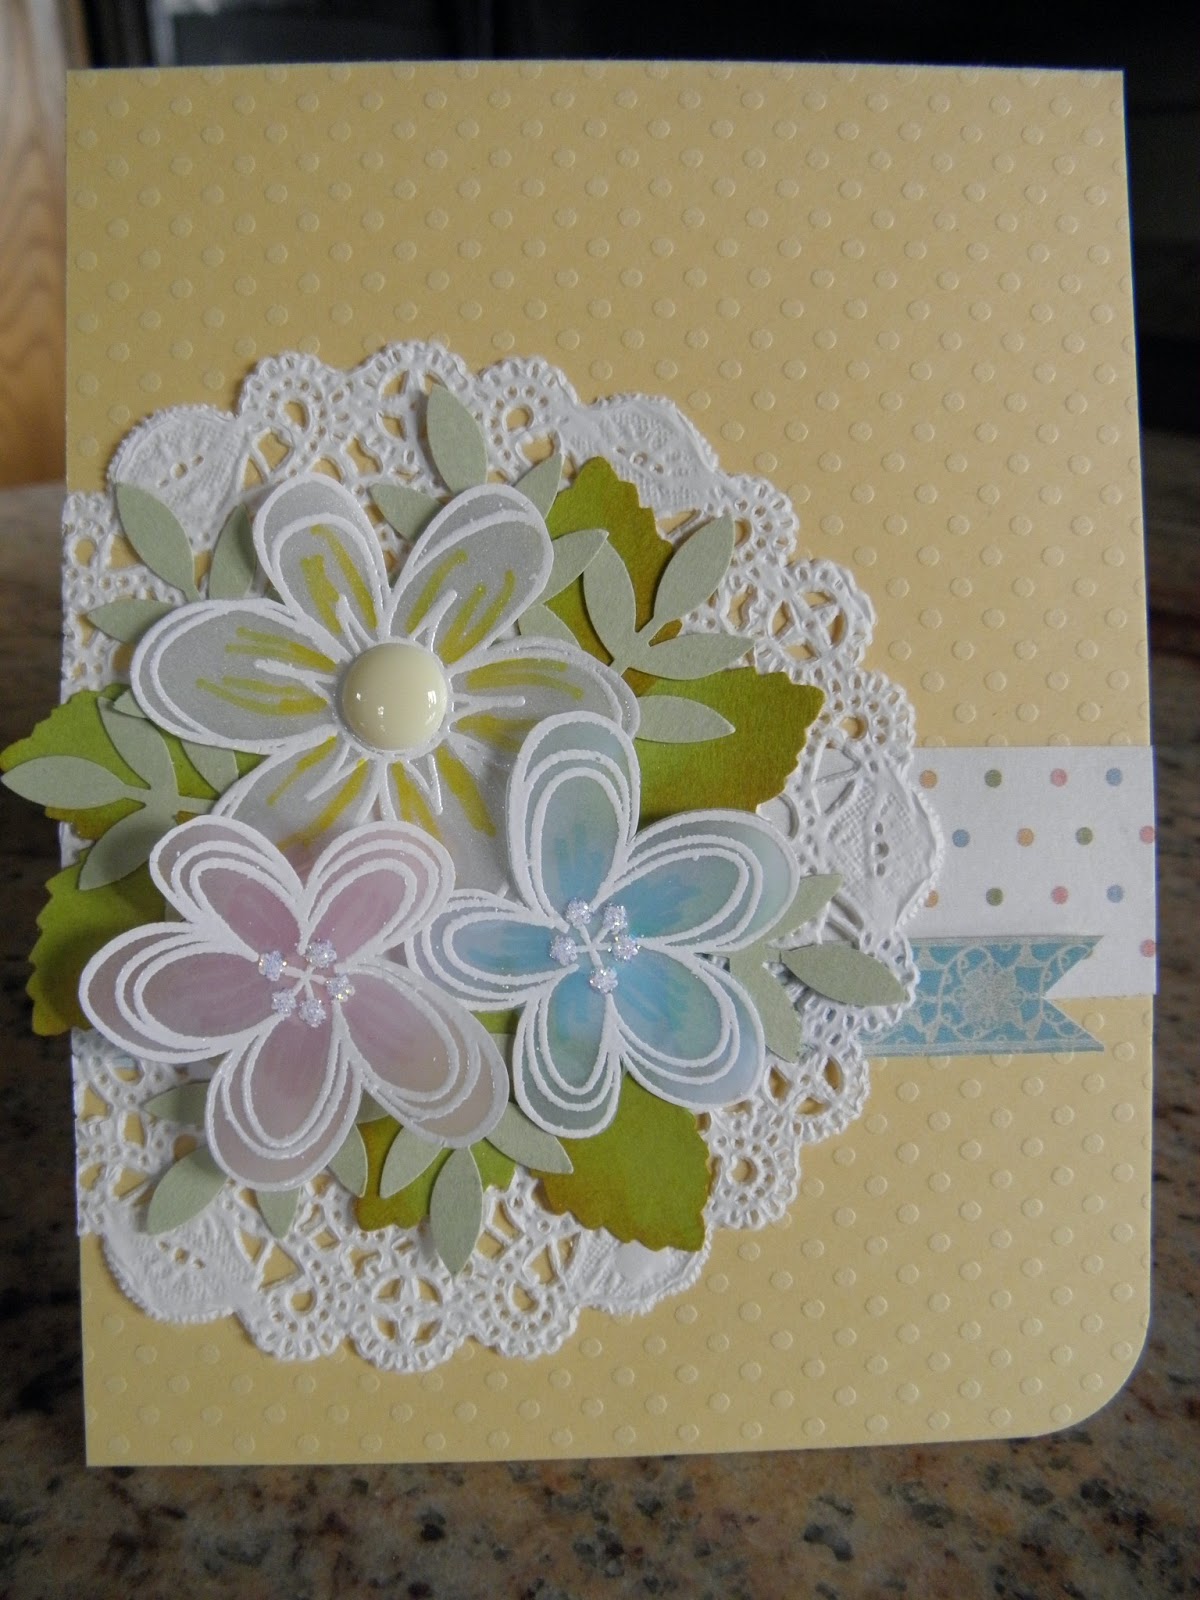
Today was another warm one so I thought I would stay indoors and share with you a Thank You card I made. I saw a card on Pinterest that had vellum flowers on it and thought what a great technique...I have to try this!


I started with a card base measuring 4 1/4" x 5 1/2" made from Bazzil's Swiss Dot. I then stamped some flowers onto pink, blue and frosted shimmer vellum using Versa Mark ink and then coated the inked images with white embossing powder. Using my heat tool I melted the embossing powder, being very careful to let the heat tool warm up some before heating the vellum. The vellum will warp if too much heat is applied.


I fussy cut the flowers out and added a few stroked of coordinating markers to each petal, starting the stroke from the center of the flower outwards. I added a candy dot and stickles to the centers of the flowers. I then punched out some leaves and highlighted the larger ones with some distress inks. I cut a wide strip of pattern paper and adhered it to the front of the card. I cut a thinner strip of pattern paper and snipped a banner point on one end. I then adhered that to the front overlapping the wider strip just a little.

Using a paper doily as a base, I adhered the leaves and flowers, popping up the flowers as I went with dimensional adhesive squares. I then adhered the vellum flower doily to the front of the card and trimmed off the one side of the doily to be flush with the side of the card.

This vellum flower technique is addictive! I will be heading to the craft stores in search for more colors of vellum!!!


Hope you all had a terrific Tuesday and thanks for stopping by!

Until next time...
~Karen


Thursday, June 20, 2013

It's Thursday Folks!


Good morning to all and just a Father's Day card share. Right before Father's Day I was at my local Michael's store and was rummaging through their clearance bins. I came across a Tim Holtz stamp set, from his Visual Artistry Collection 'Curious Possibility', which contains the three gentlemen stamp and thought...Father's Day! 


I started out making the card base from Bazzil Dot cardstock in a light tan color. I stamped and embossed the image with black embossing powder and matted it onto some pattern paper from the Lost & Found 6 x 6 paper pad 'Rosy'. I then die cut some burlap paper and another pattern paper from the same paper pad. I  added letter stickers, from lilybee designs ABC stickers, to spell 'dad'. I took some washi tape with a mustache theme, from studio g, and placed three strips on the left side of the matted embossed image. All of this was mounted on a pattern paper from The best of Echo Park Paper pad. This was adhered to the front of the card.


If you have any questions feel free to ask!


Thanks for stopping by & enjoy YOUR Thursday!
~Karen

Wednesday, June 19, 2013

Another One of My Drawings

Hello, again, Wednesday!

Here I am again and I just wanted to share another one of my drawings. I was wanting to do a drawing of a little boy this time and got this vision of a boy on a hobby horse (at least that's what I'm calling it).


I outlined the entire drawing with a Micron black pen and colored it all in with Prisma colored pencils and used a blender pencil to smooth out the coloring.
This will be going into my mixed media journal.


Thanks for visiting and until next time...
~Karen

Anniversary Card

Hello Wednesday!
(This post is from May 2013)

     I've been spending most of my evening, today, scanning and saving some of my son's photos for an album I will be making him. My tech-side is not the greatest and I had a heck of a time trying to figure out my scanner settings, BUT I have succeeded and I was able to scan and save all of his photos...whew! 

     I would like to share an Anniversary card I made for my parents. They celebrated their 55th wedding anniversary...can you say AWESOME! 

     Here is the card...


I decided to do an all white card. I used lots of texture by using the Woodgrain and Swiss Dot embossing folders. I die-cut the flowers and curled the petals to give depth. I punched out the butterflies and leaves and embellished with some self-adhesive pearls, then mounted the whole frame onto some Bazzil dotted cardstock.

The card is an A2 size...4 1/4" x 5 1/2"


Thanks for stopping by!
~Karen

Saturday, May 4, 2013

My Collection of 3" x 3" Cards from the Swap

Hello Saturday!

I went to my Crop Night, last night, and we exchanged our 3 x 3 cards & envelopes for the swap. First let me say...WOW!!!...these are some talented and creative ladies! Each card was unique and wonderful and it was so interesting to see how each lady incorporated her talents into her works of art. Our organizer, and one of the participants, made each of us a handmade box with a belly band to hold all ten of our tiny cards. How awesome and sweet is that?!!

So let me show you my collection...


This is the top of the handmade box our organizer, Jodie, made for us. Each box was decorated differently and we got to choose which one we wanted. This is the box I choose.


A close up of the decorated belly band. Do you see the darling little blue bird? All of the detail in each flower with the addition of gems and buttons...ADORABLE!


The 'Bee' card was done by Melissa. The bee has glittered wings and is popped off the card with dimensional adhesive. It sits on top of a honeycomb die-cut (she must let me know where she got that die!) and has a black & white twine buzz trail. Her envelope was air-brushed with a honeycomb pattern.

The beautiful 'Floral' card was done by our organizer Jodie. She stamped and embossed the design with gold embossing powder and filled in the stamped image with Twinkling H2O's, using a thin brush, then tied with a ribbon. She added a gold filigree image to her envelope.

The cute 'Crab' card was done by Elizabeth. The adorable lobster has tiny 'googlie' eyes and the water behind him is a blue shimmery paper. Her envelope is adorned with two sea plants.


The pretty 'Thank You' card was made by Brenda. She added ribbon and a cute daisy with a 3D little bee sitting on top. Her envelope was lined with matching paper.

The wonderful 'Just a  Note' card was made by Andrea. She used cream/black/white themed paper and added a matching silk flower made by layering three flowers held together with a brad. Her envelope was handmade with white textured paper.

The awesome 'Happy Birthday' card was made by Vanessa. She used a 'circus' themed paper and put three tiny tickets on the front popped off the card with dimensional adhesive. Her envelope was made with matching pattern paper.


The adorable 'Heaven Sent' baby card was made by Shannon. She added tiny buttons and flowers to the front along with a cute baby pin. Her envelope was stamped with a matching theme.

The cute 'Have a Wonderful Day' card was made by Ruth. She stamped the front and added a   sparkly daisy with gem center, then tied it with gray and white twine. Her envelope was stamped with a daisy.

The beautiful 'Dream' card was made by Susan. She used alcohol inks with a silver mixative for the base and then stamped a flourish when dry. Her envelope was lined with matching paper.


And this is my 'For You' card. I posted a picture of this card previously, but am giving you one more look along with the others. 
I added a crochet edge and satin bow. My envelope is a box envelope with a stamped plaid scallop circle and glitter heart popped off the front with dimensional adhesive.

I am so excited to receive these little pieces of art and don't know if I can part with any of them! Everyone did such an amazing job and I appreciate all of the time and work they put into them.


Hope you enjoyed taking a look at this swap from the Douglas County Scrapbooking Group.
Enjoy your weekend and until next time...
*Karen*


Wednesday, May 1, 2013

Happy Birthday Card

Hello Everyone!

OK, today is May 1st and guess what's happening outside? SNOW!!! I woke to it snowing like crazy and as I'm writing this it's still SNOWING! Well, we do need the moisture here and it has been warm the last couple of days so the snow isn't sticking to the streets or sidewalks...so I guess I will accept the moisture and I know that the coming days are warming up again, so the snow will be gone in no time.

On to the card I made the other day. It is a card for my father-in-law and yes, it's not very masculine, but he has been in the hospital going through some tough times for the past three weeks. So I thought a cheerful and colorful card might lift his spirits and hopefully make him smile. 

I visited a scrapbooking store called Simple Pleasures this past weekend and picked up this adorable tree die from Memory Box called 'Row of Trees'. I made the scene 3D and adhered it to the front of the card. This was so much fun to make and was my first attempt doing a dimensional scene with a frame...not too shabby, huh?

Sure hope this card brings a little joy into my father-in-laws day.


Thanks for dropping by and until next time~
*Karen*